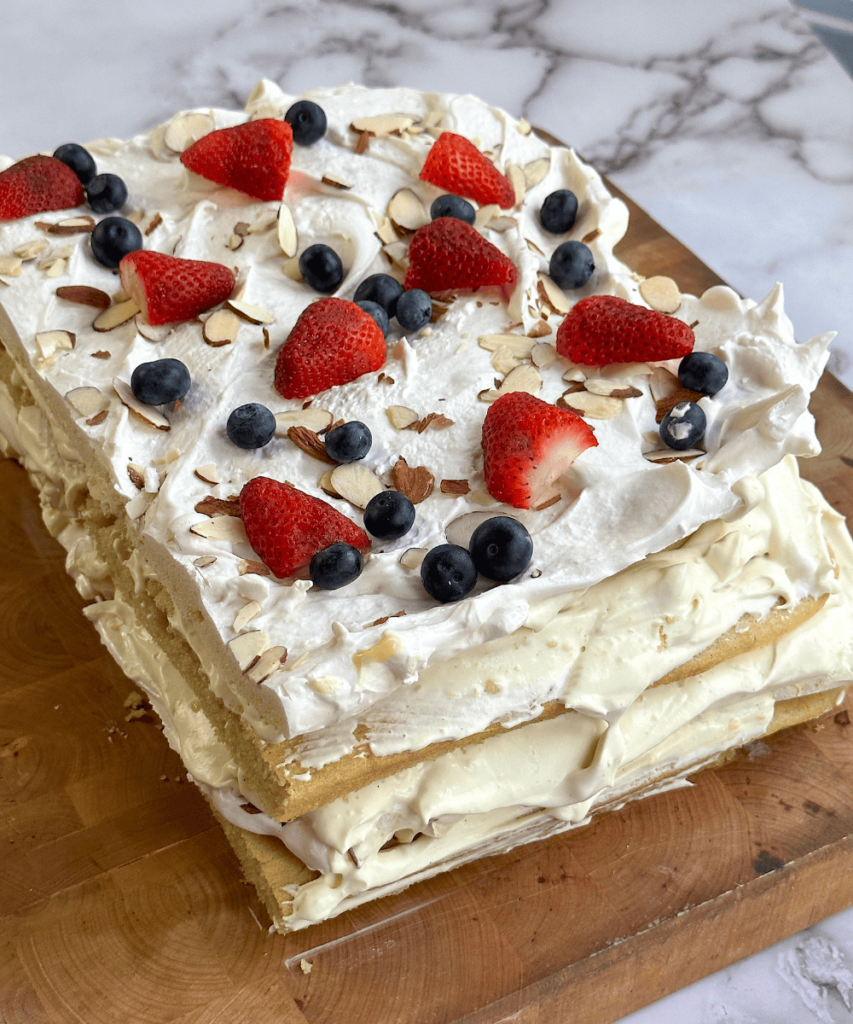
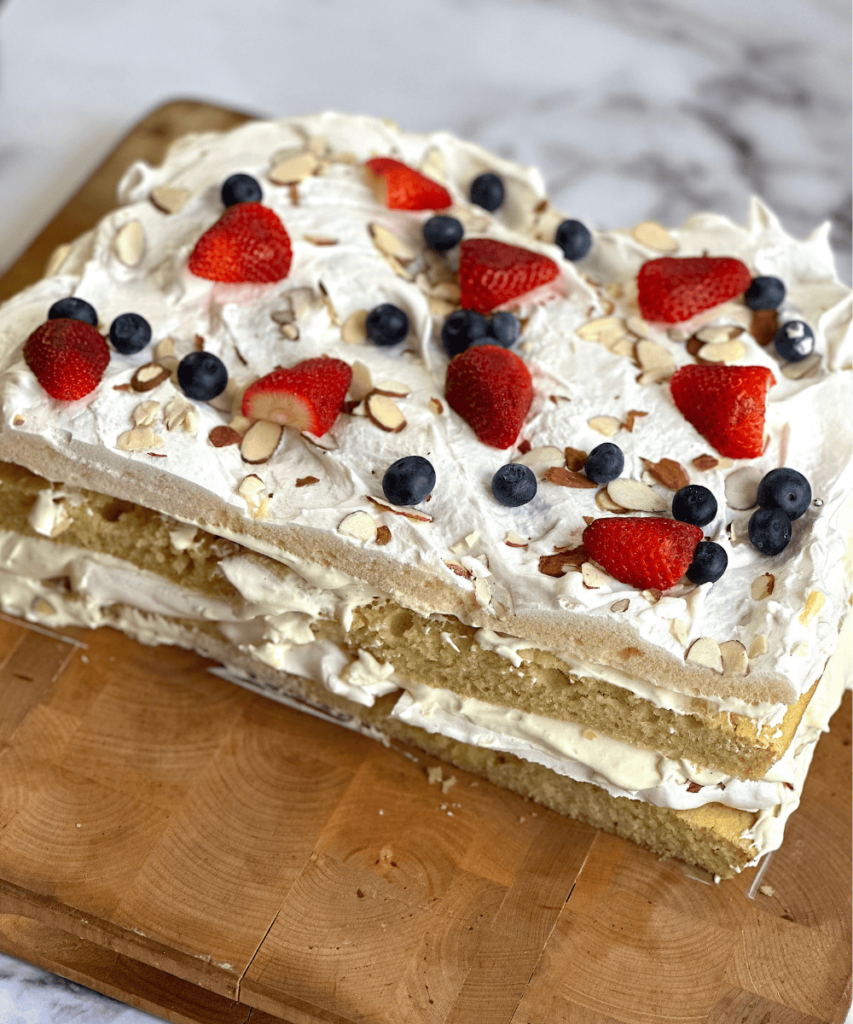
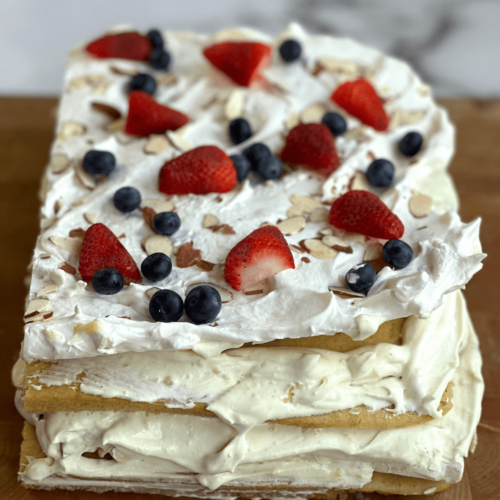
Kvæfjordkake, also known as ‘verdens beste’, the world’s best cake, is Norway’s national cake. Based on a sponge cake, it is layered and filled with whipped cream mixed with vanilla custard and topped with a ‘lid’ of meringue sprinkled with sliced almonds.
Many would agree that it deserves its title, as so many textures and flavors go together like magic and it’s pretty heavenly to bite into.
Kvæfjordkake is a classic cake to prepare for Norway’s Constitution Day on May 17th, and many other festive occasions such as confirmations, weddings and other public holidays.
The cake takes its name from Kvæfjord, a municipality in Troms and Finnmark county in northern Norway. A woman from this area by the name of Hulda Ottestad started a cafe with her sister in Harstad in the 1920s.
Hulda bought two recipes for 200 kroner ($20). Back then, this was a lot of money, so one of the cakes was named ‘kongekaka’ (the King’s cake).
Hulda changed the recipe quite a bit, among other things she reduced the amount of almonds, which was a very expensive ingredient back then. She renamed the cake “kvæfjordkake”. After the café eventually shut down, she released the recipe to the public so that everyone could enjoy it.
I love this story and so happy she shared the recipe!
The world’s best cake might not be the world’s easiest cake to veganize however, and has been the toughest for me to crack, not because of the whipped cream but because of the layer of meringue.
Traditional meringue is made from, as you may know, whipped egg whites. That can easily be substituted with aquafaba, the liquid in canned (or cooked) chickpeas.
However, the classic recipe has you layering the whipped egg whites (or in my case, aquafaba), on top of the sponge cake batter.
That turned out to be disastrous when I tried it and ended up a liquid mess in the oven.
Secondly, even when baking the whipped aquafaba meringue separately in the oven, it quickly started to liquefy once out of the oven, a bit of a head-scratcher if you’re not a total science nerd (I’m slowly becoming one working with vegan products, haha!).
What is the solution? I’m sharing that below to ensure you have maximum success makign this cake!
My top tips on how you can not only make a successful vegan kvæfjordkake, but also how to conquer any layered cake requiring meringue:
- Cook down or reduce the aquafaba first before whipping it which removes much of the water and results in a firmer, stiffer peak.
- Your mixing bowl and whisk must be completely clean before using. Any traces of oil will prevent the aquafaba from whipping up properly. The best way to remove any dirt/oil is to lightly wipe it with a paper towel or cloth coated with a little vinegar.
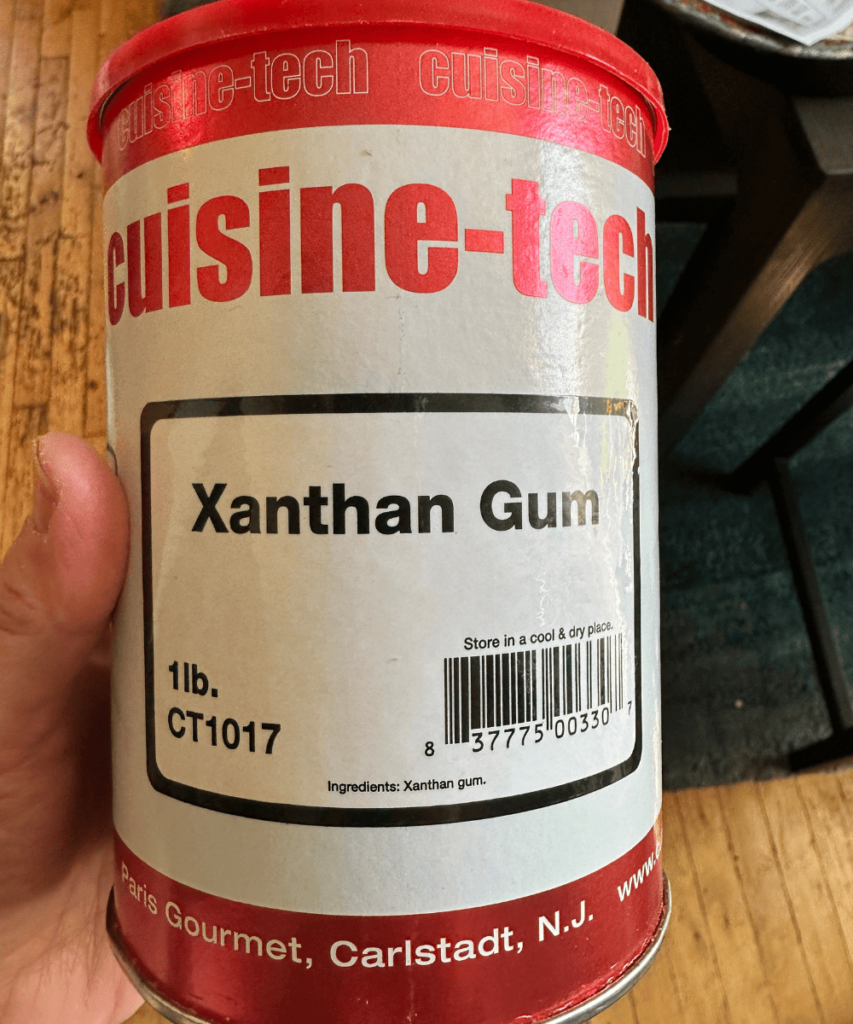
- Add xanthan gum in addition to cream of tartar to the aquafaba when whipping it. Xanthan gum is a polysaccharide and a common food additive. It is an effective thickening agent, emulsifier, and stabilizer that prevents ingredients from separating.
Cream of tartar is a dry, powdery, acidic byproduct of fermenting grapes into wine. Its science name is potassium bitartrate, aka potassium hydrogen tartrate or tartaric acid. It speeds up the creation of foam and helps stabilize the structure of those tiny air bubbles created when you are whipping up the aquafaba.
Both xanthan gum and cream of tartar can be commonly found in most grocery stores in the baking or spice isles. - Use confectioner’s sugar instead of granulated sugar for the whipped aqufaba, resulting in a smoother meringue.
- Use equal amounts of sugar to aquafaba. I.e. if you have ¾ cup of liquid aquafaba, use ¾ cup sugar. I found this to result in the best texture and flavor.
- SLOWLY add in the sugar, 1 tablespoon at a time. Wait until it incorporates fully before adding the next tablespoon and don’t start adding the sugar until you’ve whipped the aquafaba for at least 4-5 minutes. The total whipping time should be about 10 minutes.
- Bake the whipped aquafaba separately on a sheet tray lined with parchment paper at 200F (100C) for 2 ½ hours without opening the oven door! If you open it, the meringue will sink. After 2 hours turn off the oven, and open the oven door just a tad (slide in a wooden spoon in the door) and let the meringue hang in the oven for another hour. This is the perfect temperature and time.
Make sure the meringue is completely cooled off before assembling your cake.
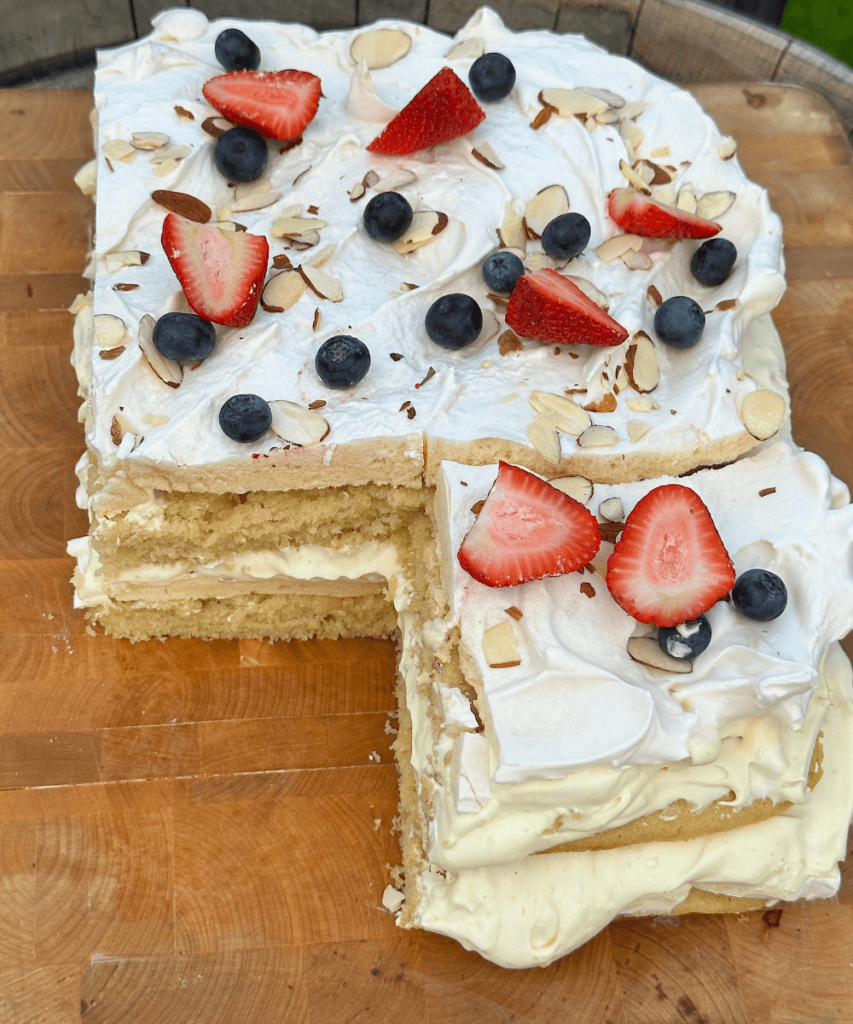
The results? A crispy meringue that holds up for HOURS on the cake and never gets watery.
I kept the cake in the fridge for the next day, and while the meringue didn’t liquefy it did turn a bit chewy and lost the crispiness, but I don’t mind it. It was almost like eating marshmallows!
That said, I’d definitely eat the cake on the first day so make sure you invite some people over!
VEGAN KVÆFJORDKAKE
For the sponge cake:
2 cups (5 dl) plain non-dairy milk (I prefer organic soy)
2 tablespoons white vinegar
¼ cup (60 ml) water, room temperature
2 teaspoons vanilla bean paste
250 grams (9 oz) vegan butter
½ cup (100 grams) granulated sugar
3 cups (450 grams) all-purpose flour
1 tablespoon baking powder
1 teaspoon baking soda
½ teaspoon salt
For the meringue:
Liquid from 2 x 15 oz (425 g) cans organic chickpeas
¼ teaspoon cream of tartar
¼ teaspoon xantham gum
¾ cup (75 grams) powdered sugar
Filling:
1 recipe homemade vanilla custard
2 cups (5 dl) non-dairy whipping cream, such as Violife, Silk or Country Crock
2 teaspoons vanilla paste or extract
3 tablespoons powdered sugar
½ cup (about 50 grams) sliced almonds for topping
Fresh strawberries, blueberries and/or raspberries for garnish
Prepare the sponge cake:
Preheat oven to 350℉ (175℃). Line a 12 x 17 inch (30 x 43 cm) baking sheet with parchment paper and spray a little oil on top and set aside.
Combine the non-dairy milk with the white vinegar and let sit until it starts to curdle about 5 minutes. Then add in the water and vanilla paste.
In a stand mixer fitted with the paddle attachment, add the butter and sugar, and cream on high speed until light and fluffy, about 2 minutes or so. Stop in between and scrape down with a spatula as needed.
In a separate bowl, sift together the flour, baking powder, baking soda, and sea salt and combine well.
With the stand, add in one-third of the liquid mixture, followed by one-third of the flour mixture, then liquid, then flour until everything is just combined (don’t overmix).
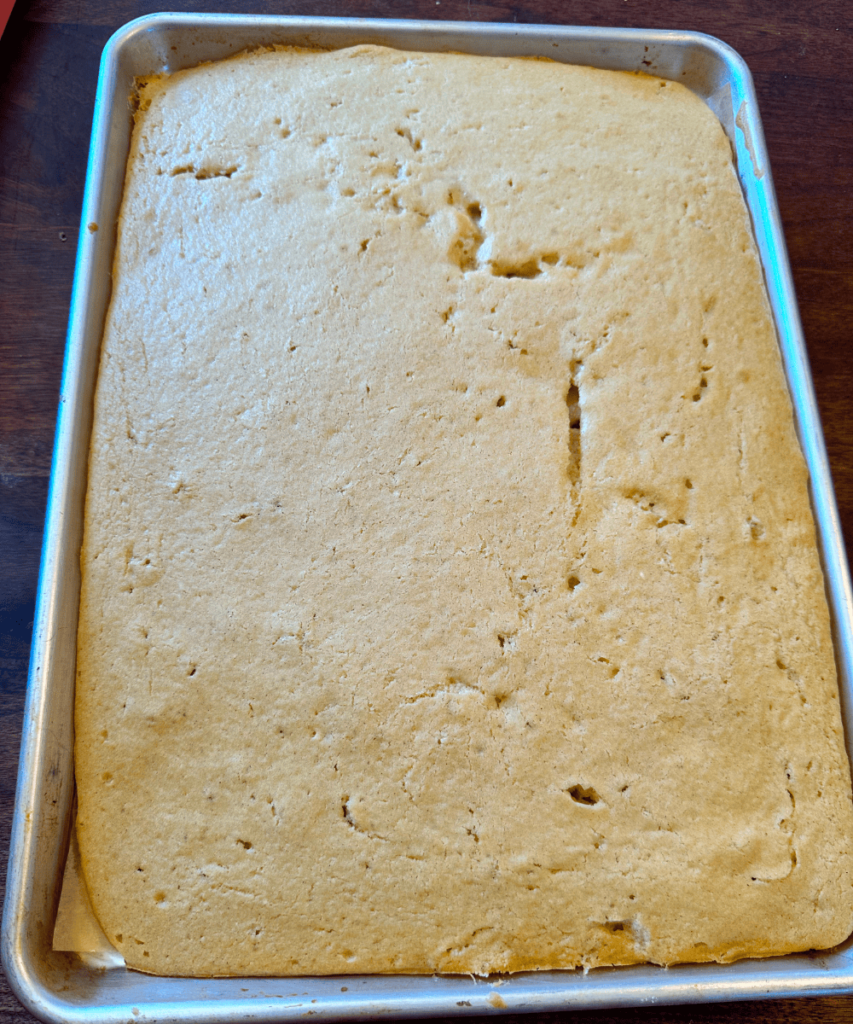
Spread the batter evenly over the prepared baking sheet.
Bake in the middle of the oven for about 25 minutes, or until the edges start firming up and a cake tester comes out clean when inserted into the middle.
Leave the cake in the sheet pan on a rack to cool for 5-10 minutes, before carefully removing it from the pan and leaving it to cool completely.
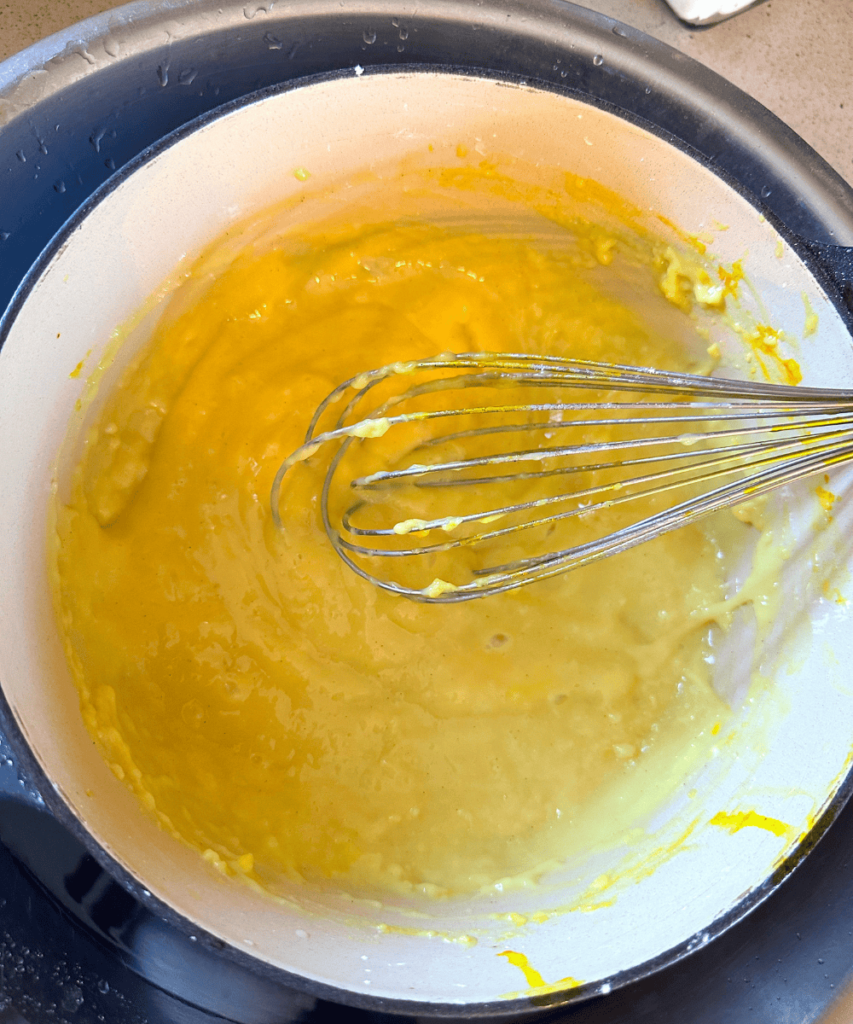
While the cake cools, you can make the vanilla custard using this recipe. Make sure the custard also is completely chilled before assembling the cake. I like putting the pan in an ice bath in a bigger bowl and whisk for 5 minutes to cool it down properly:
Prepare the meringue:
Preheat the oven to 200℉ (100℃).
Line a 12 x 17 inch (30 x 43 cm) sheet pan with parchment paper and set aside.
Drain the liquid from the 2 cans of chickpeas and add it to a medium pot over medium heat and reduce the liquid to about one-half. Example: I weighed my liquid and it was approximately 300 grams, and I reduced it to 150 grams.
You can also measure it in a measuring cup, you should have about 1 ½ cup (3.5 dl) to start, and you want to reduce it down to ¾ cup (1 ¾ cup). Once reduced, transfer to a clean container and let cool completely.
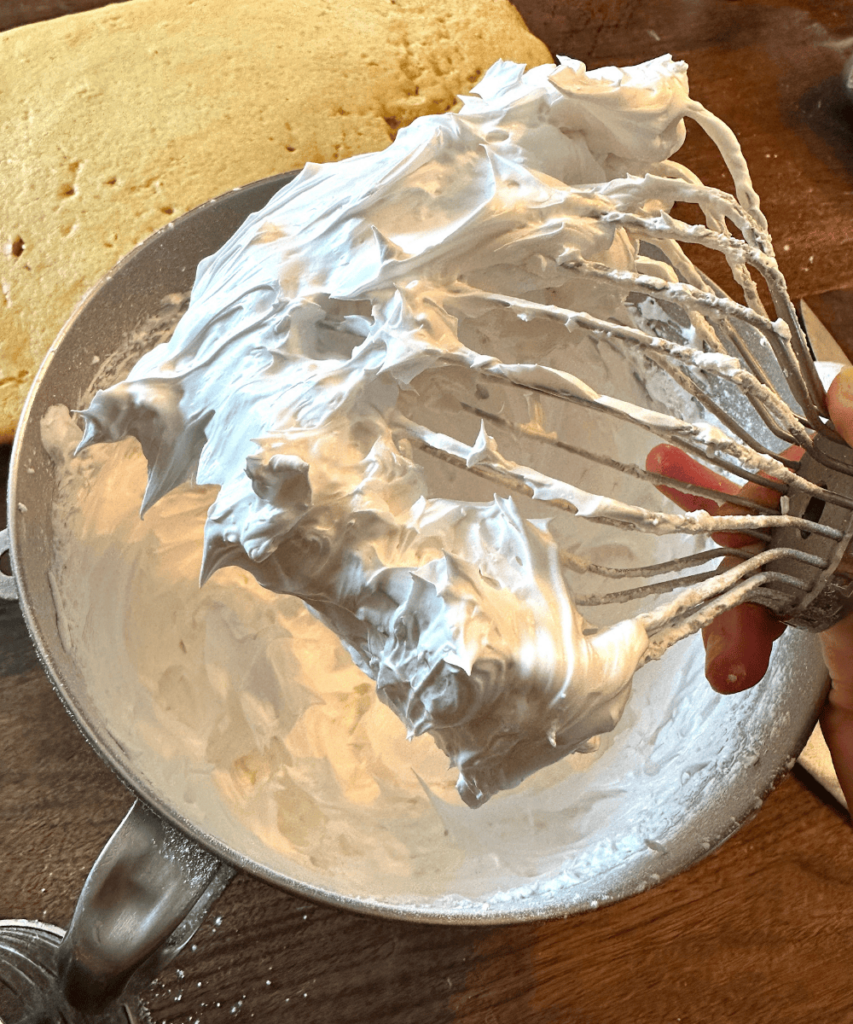
Add the cooled, reduced aquafaba to your clean stand-mixer bowl, add the cream of tartar and xantham gum, and whisk on high for about 4-5 minutes until stiff peaks form.
Add the vanilla paste, then gradually add the powdered sugar one tablespoon at a time, waiting until the sugar is completely mixed in before adding the next spoon. The whole process should take about 10 minutes.
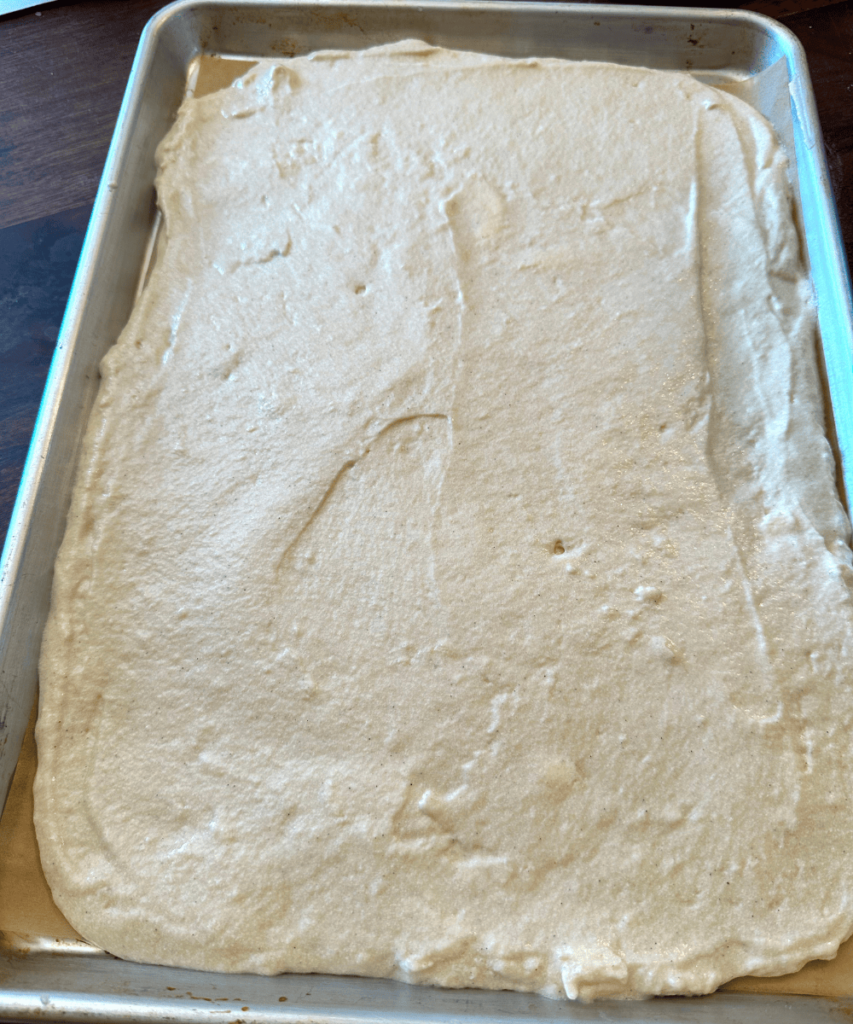
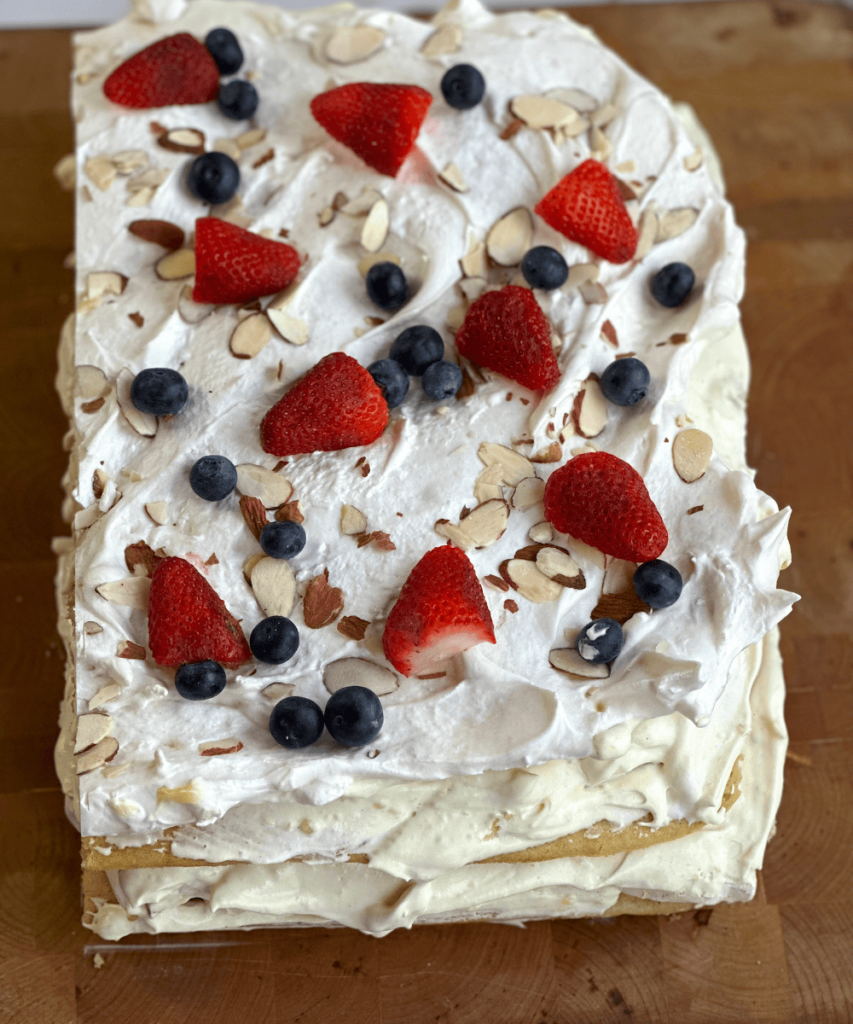
Spread the whipped aquafaba onto the prepared sheet pan. I like to use an offset spatula and make a few wavy patterns for a nice visual effect.
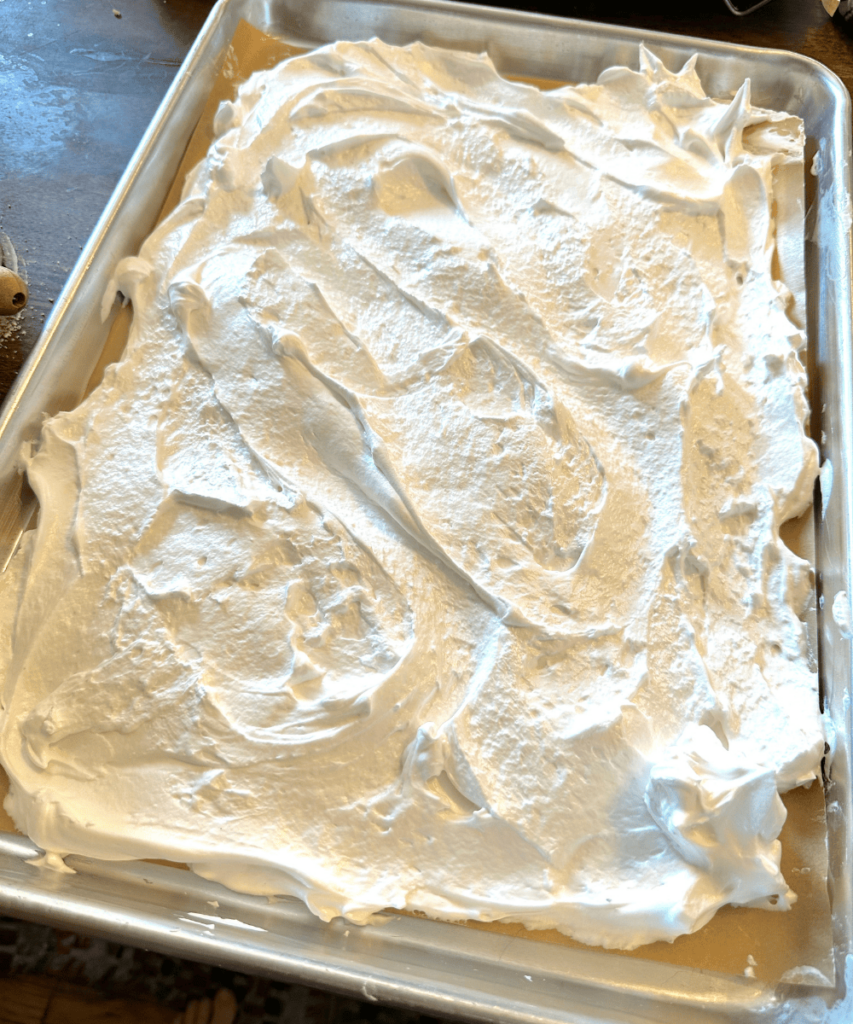
Sprinkle the sliced almonds all across the top and bake in the middle oven for 2-2 ½ hours. Do NOT open the oven door during this time!
Once the 2 hours is done, turn off the oven, open the oven door (place a wooden spoon in the opening to leave it ajar), and let the cake sit in the oven for another hour before removing it and letting it cool completely.
Next, whip the non-dairy cream in a stand mixer and add in the powdered sugar and vanilla paste or extract until soft peaks form, about 3 minutes or so.
Using a rubber spatula, carefully fold the chilled vanilla custard into the whipped cream.
Assemble the cake:
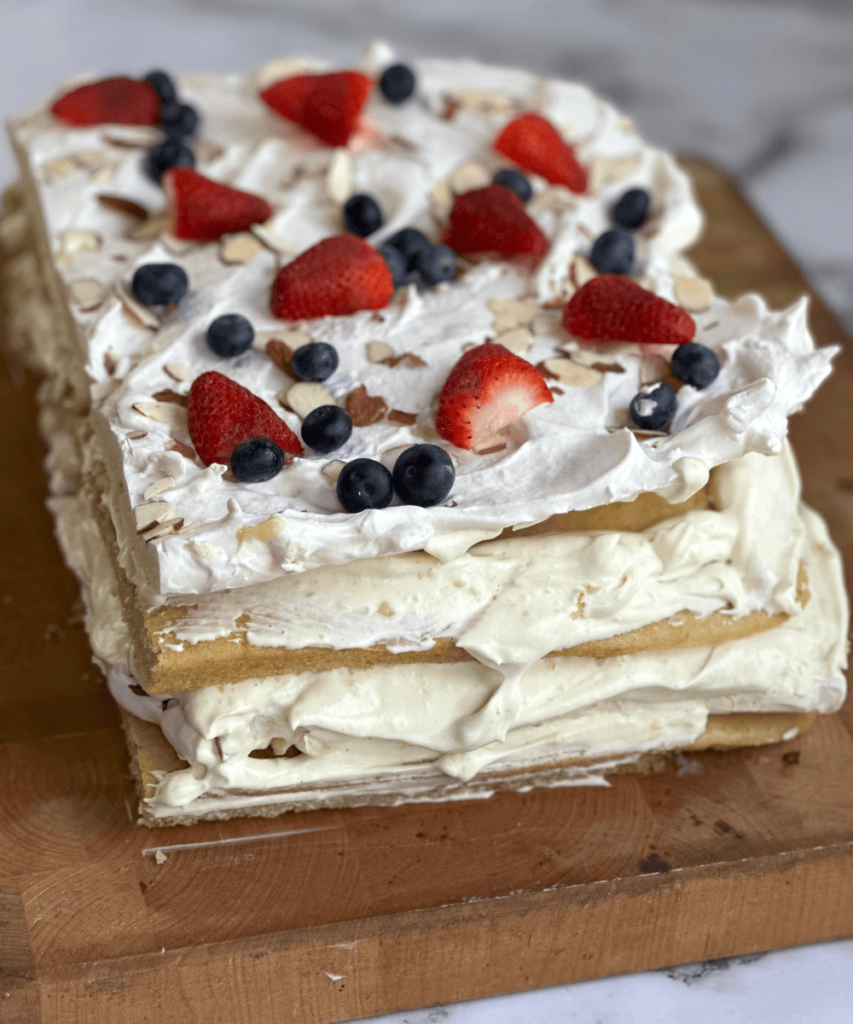
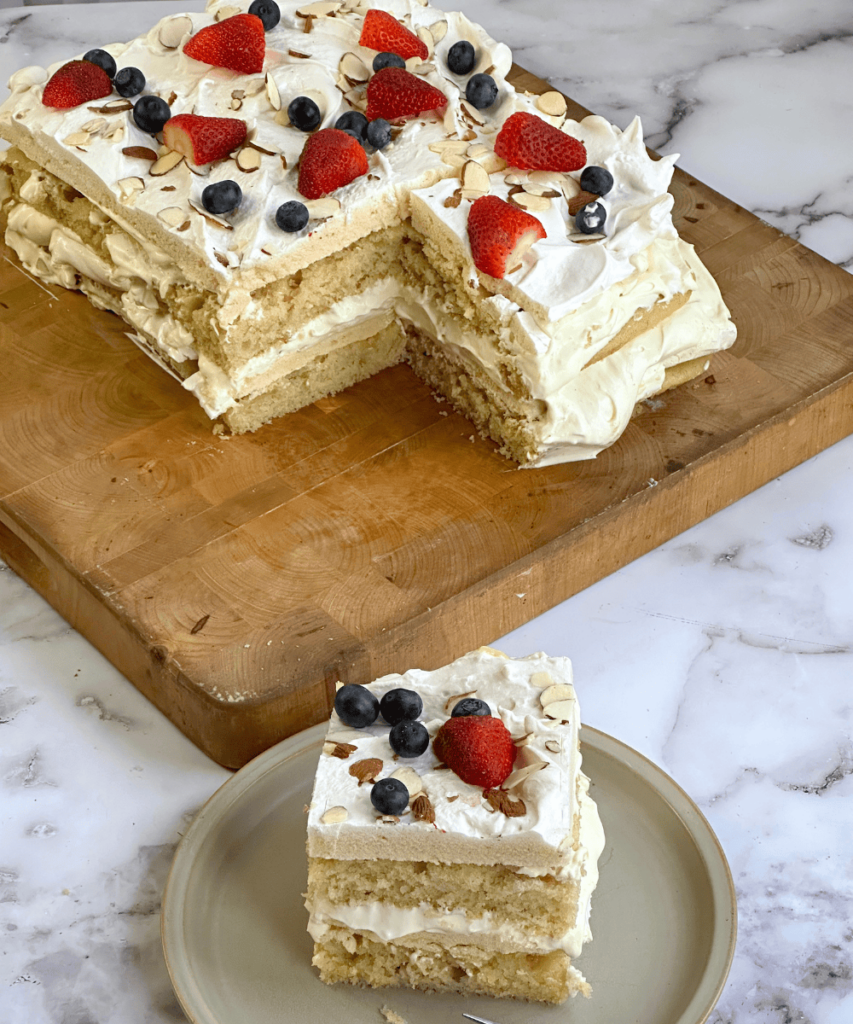
Divide the sponge cake in half vertically, and do the same with the baked meringue. Place one-half of the sponge cake on a serving plate, followed by one-half of the meringue, then spread a nice, generous layer of the vanilla-custard-whipped cream filling over.
Follow with the second layer of sponge cake, then the second layer of meringue. Garnish with optional blueberries, strawberries, and/or raspberries.
Now you’ve got your beautiful vegan kvæfjordkake assembled, so don’t wait to dig in immediately!

VEGAN KVÆFJORDKAKE
Ingredients
- For the sponge cake:
- 2 cups (5 dl) plain non-dairy milk (I prefer organic soy)
- 2 tablespoons white vinegar
- ¼ cup (60 ml) water, room temperature
- 2 teaspoons vanilla bean paste
- 250 grams (9 oz) vegan butter
- ½ cup (100 grams) granulated sugar
- 3 cups (450 grams) all-purpose flour
- 1 tablespoon baking powder
- 1 teaspoon baking soda
- ½ teaspoon salt
- For the meringue:
- 2 x 15 oz (425 grams) cans organic chickpeas liquid only
- ¼ teaspoon cream of tartar
- ¼ teaspoon xantham gum
- ¾ cup (75 grams) powdered sugar
- Filling:
- 1 recipe homemade vanilla custard*
- 3 dl non-dairy whipping cream such as Violife, Silk or Country Crock
- 2 teaspoons vanilla paste or extract
- 3 tablespoons powdered sugar
- ½ cup (about 50 grams( sliced almonds for topping
- Fresh strawberries blueberries and/or raspberries for garnish
Instructions
- Prepare the sponge cake:
- Preheat oven to 350℉ (175℃). Line a 12 x 17 inch (30 x 43 cm) baking sheet with parchment paper and spray a little oil on top and set aside.
- Combine the non-dairy milk with the white vinegar and let sit until it starts to curdle about 5 minutes. Then add in the water and vanilla paste.
- In a stand mixer fitted with the paddle attachment, add the butter and sugar, and cream on high speed until light and fluffy, about 2 minutes or so. Stop in between and scrape down with a spatula as needed.
- In a separate bowl, sift together the flour, baking powder, baking soda, and sea salt and combine well.
- With the stand, add in one-third of the liquid mixture, followed by one-third of the flour mixture, then liquid, then flour until everything is just combined (don’t overmix).
- Spread the batter evenly over the prepared baking sheet and bake in the middle of the oven for about 25 minutes, or until the edges start firming up and a cake tester comes out clean when inserted into the middle.
- Leave the cake in the sheet pan on a rack to cool for 5-10 minutes, before carefully removing it from the pan and leaving it to cool completely.
- While the cake cools, you can make the vanilla custard using this recipe. Make sure the custard also is completely chilled before assembling the cake.
- Prepare the Meringue:
- Preheat the oven to 200℉ (100℃).
- Line a 12 x 17 inch (30×43 cm) sheet pan with parchment paper and set aside.
- Drain the liquid from the 2 cans of chickpeas and add it to a medium pot over medium heat and reduce the liquid to about one-half. Example: I weighed my liquid and it was approximately 300 grams, and I reduced it to 150 grams. You can also measure it in a measuring cup, you should have about 1 ½ cup (3.5 dl) to start, and you want to reduce it down to ¾ cup (1 ¾ cup). Once reduced, transfer to a clean container and let cool completely.
- Add the cooled, reduced aquafaba to your clean stand-mixer bowl, add the cream of tartar and xantham gum, and whisk on high for about 4-5 minutes until stiff peaks form. Add the vanilla paste, then gradually add the powdered sugar one tablespoon at a time, waiting until the sugar is completely mixed in before adding the next spoon. The whole process should take about 10 minutes.
- Spread the whipped aquafaba onto the prepared sheet pan. I like to use an offset spatula and make a few wavy patterns for a nice visual effect. Sprinkle the sliced almonds all across the top and bake in the middle oven for 2-2 ½ hours. Do NOT open the oven door during this time! Once the 2 hours is done, turn off the oven, crack the oven door open (place a wooden spoon in the opening to leave it ajar), and let the cake sit in the oven for another hour before removing it and letting it cool completely.
- Next, whip the non-dairy cream in a stand mixer and add in the powdered sugar and vanilla paste or extract until soft peaks form, about 3 minutes or so.
- Using a rubber spatula, carefully fold the chilled vanilla custard into the whipped cream.
- Assemble the cake:
- Divide the sponge cake in half vertically, and do the same with the baked meringue. Place one-half of the sponge cake on a serving plate, followed by one-half of the meringue, then spread a nice, generous layer of the vanilla-custard-whipped cream filling over. Follow with the second layer of sponge cake, then the second layer of meringue. Garnish with optional blueberries, strawberries, and/or raspberries.


0 Comments