Today’s recipe takes inspiration from an idea created by talented Norwegian pastry chef and food blogger Elin Vatnar of krem.no.
A few years ago she started a tradition of making spring-inspired cardamom buns filled with vanilla custard. She shapes them into cute little flowers and decorates them with confectioner’s glaze and they really look like sunshine on a plate!
Elin calls them maiboller (=May buns). The name relates to a flower pin people would decorate their jackets with during the month of May. This concept originally comes from Sweden; you can read more about it here.
I thought this was brilliant and creative and needed to try out some of my own, as I’m always eager to try out new recipes for May 17th. Ever since I went vegan over a decade ago I’m committed to creating plant-based versions of traditional recipes so that anybody can enjoy the classic Norwegian flavors on this celebratory day. If you’re interested in more sweet and savory recipes and would like to learn more in-depth, grab my on-demand cooking class May 17th Celebration.
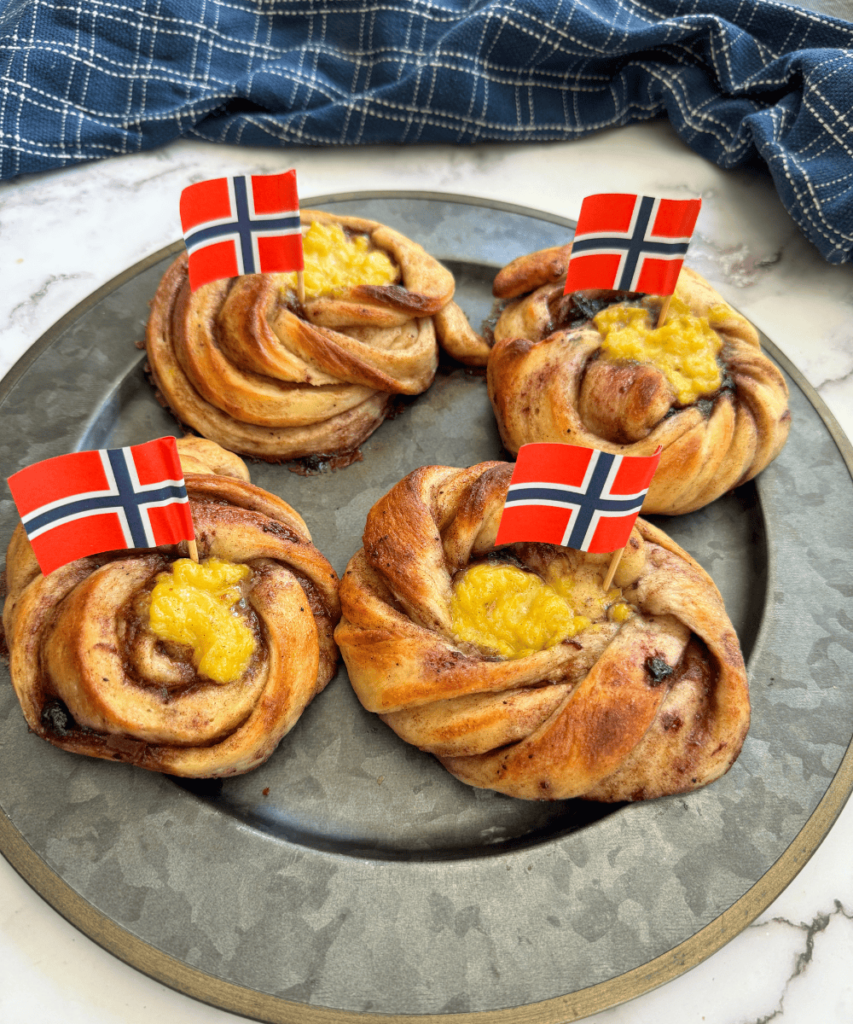
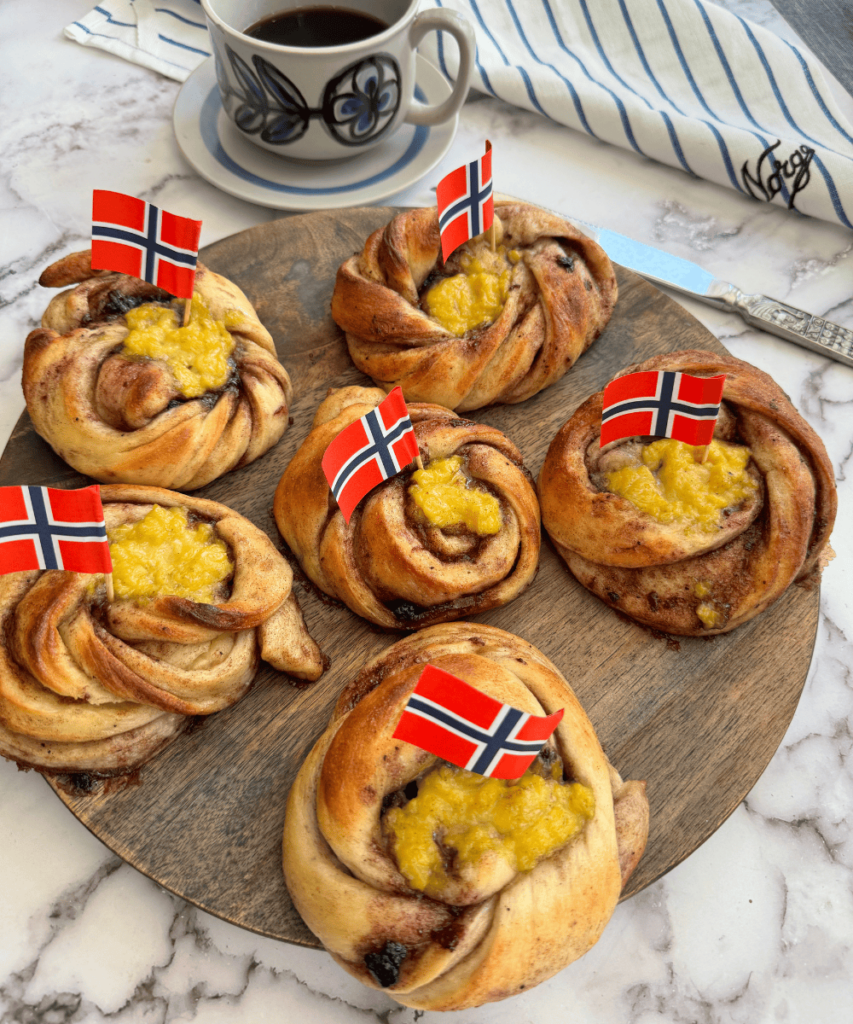
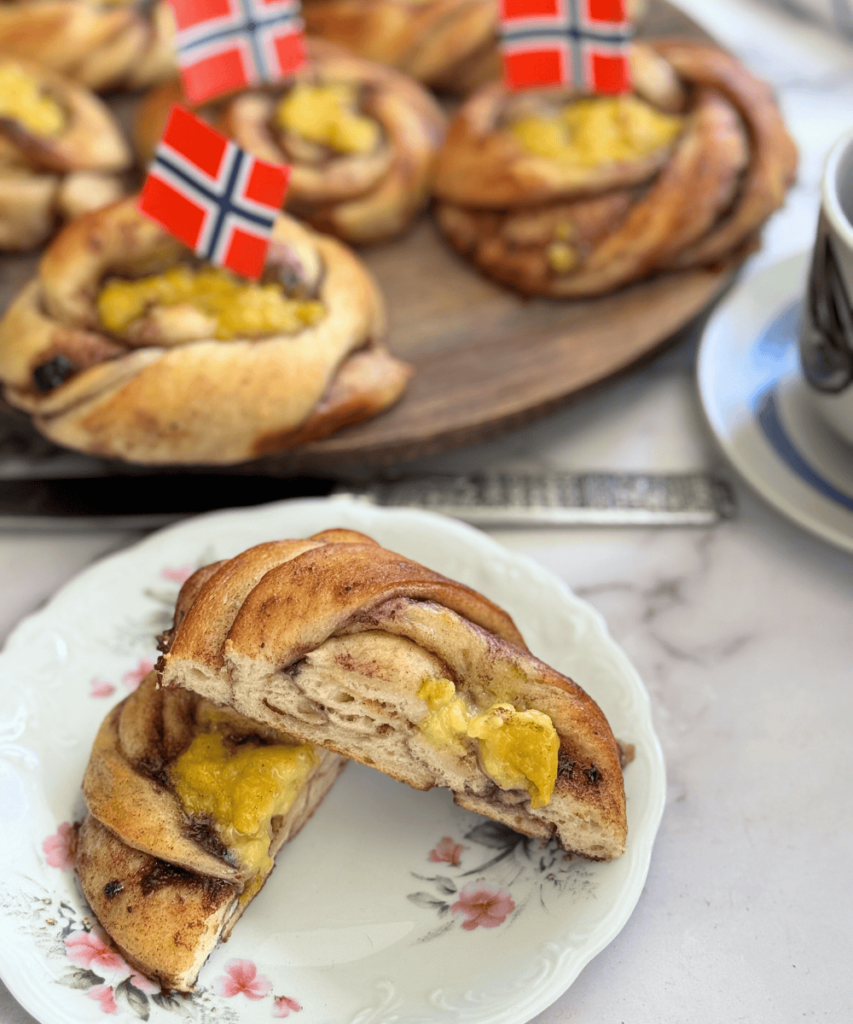
My version of maiboller is somewhat simpler, and you don’t need to be a pastry chef to make these! The filling is a combination of cinnamon sugar and blueberry jam, and the buns are twisted into a regular cinnamon roll. Then I made a slight indentation in the center and filled it with a dollop of vegan vanilla custard.
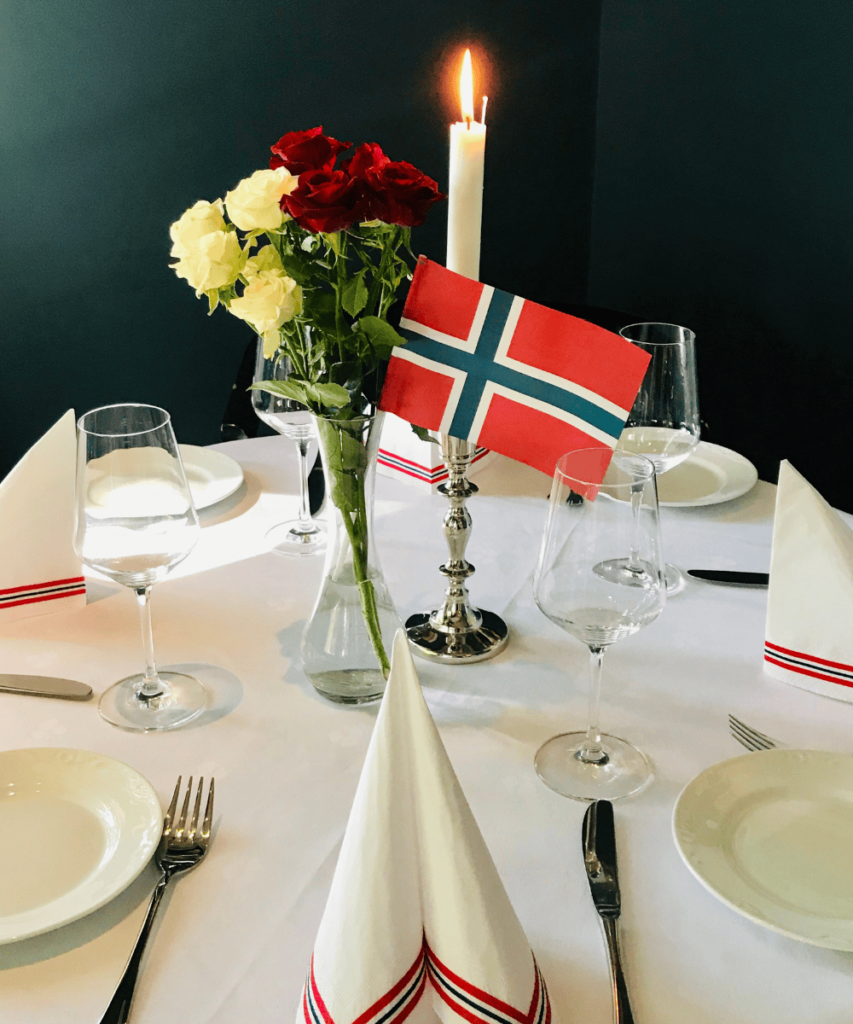
Decorate each bun with a Norwegian flag, and these delicious pastries wil be the perfect addition to your May 17th table!
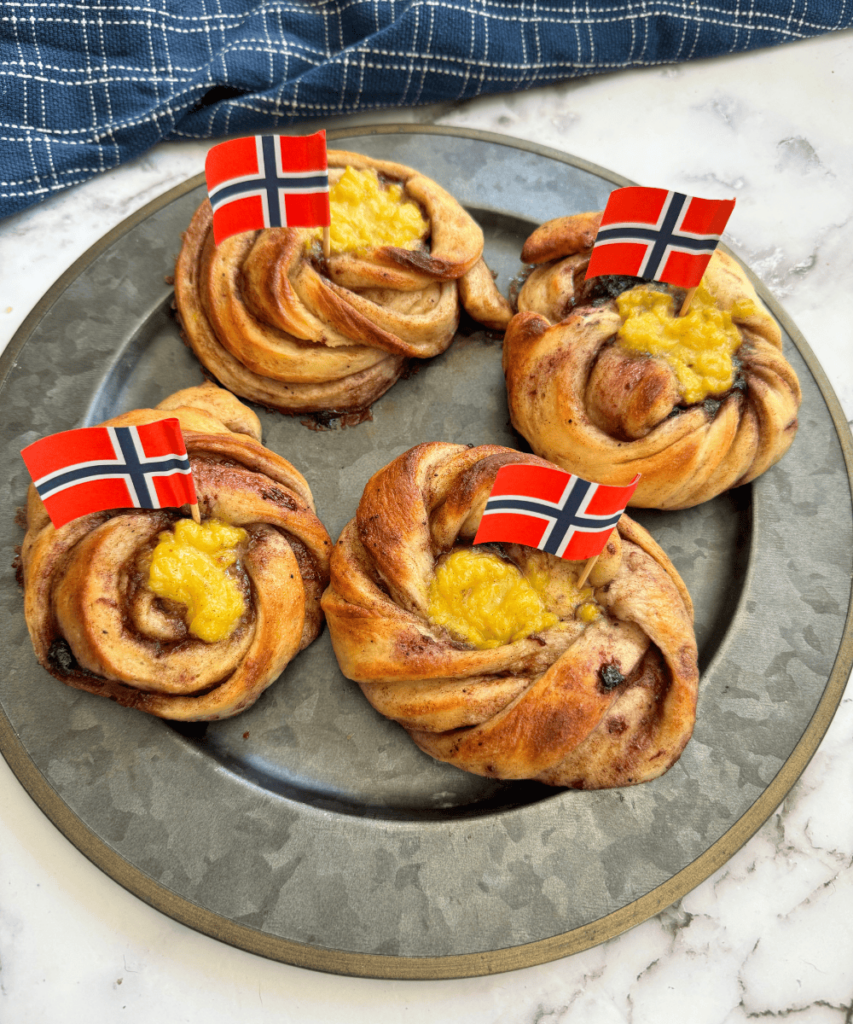
Norvegan Maiboller
Makes about 20-24 buns
Ingredients
For the dough:
900 grams (5 1/2 cups) all-purpose flour
150 grams (¾ cups) granulated sugar
1 packet 2 ¼ teaspoon active dry yeast or use 50 grams fresh yeast
1 teaspoon ground cardamom
½ teaspoon salt
5 dl (2 cups) non-dairy milk Soy, almond or cashew milk
150 grams (5 ¼ oz) non-dairy butter, cold and diced
Cinnamon-Sugar Filling:
150 grams (5 ¼ oz) vegan butter
2 tablespoons ground cinnamon
150 grams (¾ cups) brown sugar
Blueberry and Vanilla Custard Filling:
⅓ cup (150 grams) blueberry jam
1 recipe of my best vegan vanilla custard
Topping:
Pearl sugar for sprinkling on top (optional)
Non-dairy milk for brushing the dough
Instructions
To make the dough:
Combine all the ingredients except the butter in the bowl of a stand mixer fitted with the dough hook and knead on medium speed for about 10 minutes. Add in the diced butter and knead for another 10 minutes until the dough releases from the edges of the bowl and is smooth and firm. Cover with plastic wrap or a clean kitchen towel and rest until doubled in size, about 1 ½ hours.
To make the filling:
While the dough is rising, combine ingredients for the cinnamon-sugar filling in a small bowl and mix together with a fork until smooth.
Make the vanilla custard and let it cool in fridge until ready to use (this can be done several hours in advance or even the night before).
Measure out the blueberry jam.
Line two baking sheets with parchment paper and set aside.
Preheat the oven to 450℉ (225℃).
To shape the buns:
Tilt the risen dough onto a clean work surface dusted with flour, and roll out the dough with a rolling pin until you have a rectangle of about 24×20 inches (60x50cm).
Spread the cinnamon-sugar filling on the surface evenly with an off-set spatula, leaving about 1-inch from the edges.

Spread the blueberry jam on top. Fold the left (shorter) part of the dough in towards the middle, then bring the right part over the left (the dough is now folded in thirds).
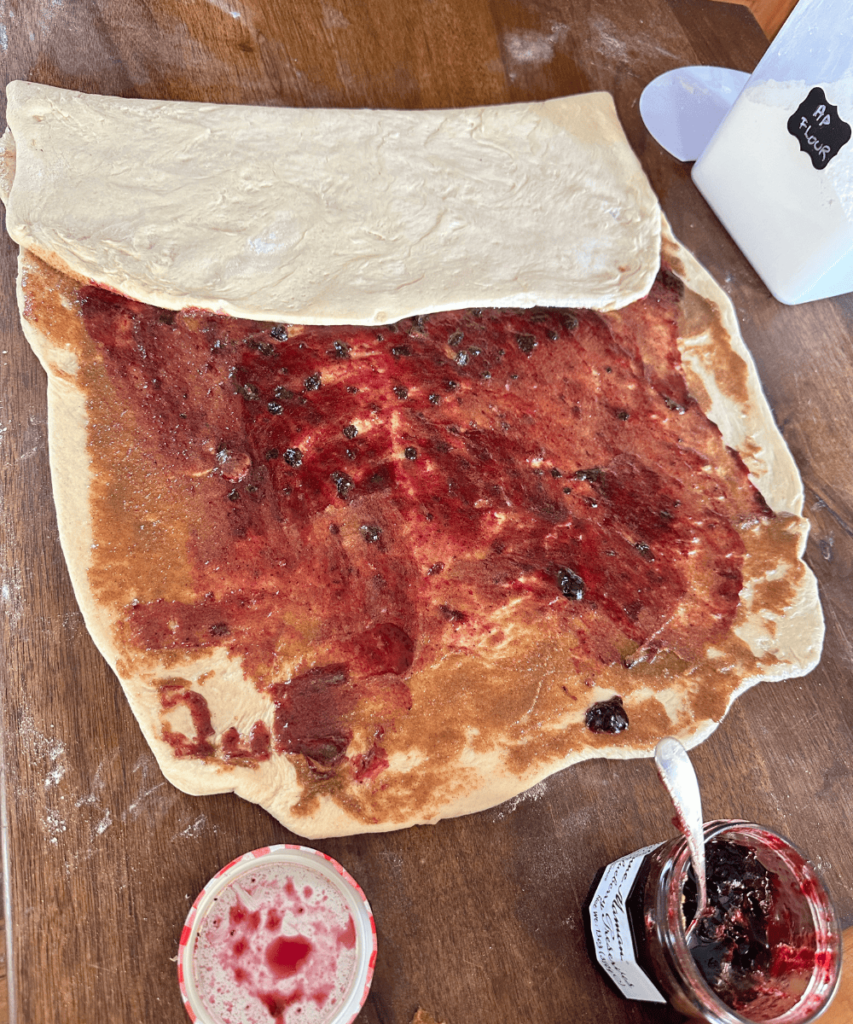
Cut the dough vertically into 20-24 1-inch-long strips.

Starting from the end, gently wrap one strip around the tips of your index, middle and fourth finger like a bandage two times, letting the dough overlap and working cautiously so it doesn’t tear. It helps if your dough is cold here and warning.
Place your thumb on top of the wrapped dough, on the side closer to your wrist, to secure the shape, then loop the remaining end of the strand over and through the center of the bun, tucking it under at the base of the bun. You should have a rounded bun made out of bandage-like strips.
The knotted part will be unexposed, hidden at the bottom. It can get a bit messy and some of the filling might spill a bit but I just scoop it back up and put it on top of each bun.
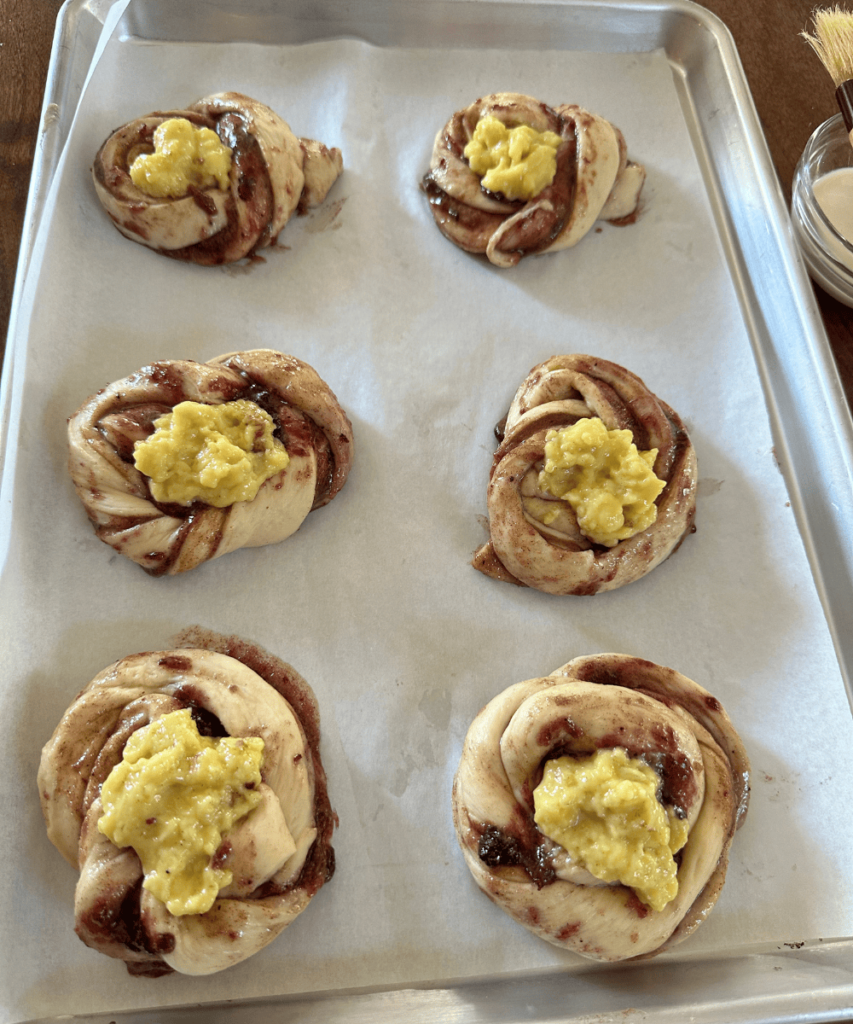
Place the pieces on the prepared baking sheet, brush with a little of the non-dairy milk and sprinkle with pearl sugar if you want.
Bake in the oven, one tray at a time, in the middle rack for about 12 minutes until golden on top. Let cool on a rack for a few minutes before enjoying.


Norvegan Maiboller
Ingredients
For the buns:
- 900 grams (5 1/2 cups) all-purpose flour
- 150 grams (¾ cups) granulated sugar
- 1 packet (2 ¼ teaspoons) active dry yeast or use 50 grams fresh yeast
- 1 teaspoon ground cardamom
- ½ teaspoon salt
- 2 cups (5 dl) non-dairy milk like soy, almond or cashew milk
- 150 grams (5 ¼ oz) non-dairy butter, cold and diced
For the cinnamon-sugar filling:
- 150 grams (5 ¼ oz) vegan butter
- 2 tablespoons ground cinnamon
- 150 grams (¾ cups) brown sugar
For the blueberry and vanilla custard filling:
- ⅓ cup (150 grams) blueberry jam
- 1 recipe of my best vegan vanilla custard (recipe link above)
For the topping:
- Pearl sugar for sprinkling on top optional
- Non-dairy milk for brushing the dough
Instructions
To make the dough:
- Combine all the ingredients except the butter in the bowl of a stand mixer fitted with the dough hook and knead on medium speed for about 10 minutes. Add in the diced butter and knead for another 10 minutes until the dough releases from the edges of the bowl and is smooth and firm. Cover with plastic wrap or a clean kitchen towel and rest until doubled in size, about 1 ½ hours.
To make the filling:
- While the dough is rising, combine ingredients for the cinnamon-sugar filling in a small bowl and mix together with a fork until smooth.
- Make the vanilla custard and let it cool in fridge until ready to use (this can be done several hours in advance or even the night before).
- Measure out the blueberry jam.
- Line two baking sheets with parchment paper and set aside.
- Preheat the oven to 450℉ (225℃).
To shape the buns:
- Tilt the risen dough onto a clean work surface dusted with flour, and roll out the dough with a rolling pin until you have a rectangle of about 24×20 inches (60x50cm). Spread the cinnamon-sugar filling on the surface evenly with an off-set spatula, leaving about 1-inch from the edges. Spread the blueberry jam on top. Fold the left (shorter) part of the dough in towards the middle, then bring the right part over the left (the dough is now folded in thirds).
- Cut the dough vertically into 20-24 1-inch-long strips.
- Starting from the end, gently wrap one strip around the tips of your index, middle and fourth finger like a bandage two times, letting the dough overlap and working cautiously so it doesn’t tear. It helps if your dough is cold here and warning.
- Place your thumb on top of the wrapped dough, on the side closer to your wrist, to secure the shape, then loop the remaining end of the strand over and through the center of the bun, tucking it under at the base of the bun. You should have a rounded bun made out of bandage-like strips. The knotted part will be unexposed, hidden at the bottom. It can get a bit messy and some of the filling might spill a bit but I just scoop it back up and put it on top of each bun.
- Place the pieces on the prepared baking sheet, brush with a little of the non-dairy milk and sprinkle with pearl sugar if you want. Bake in the oven, one tray at a time, on the middle rack for about 12 minutes until golden on top. Let cool on a rack for a few minutes before enjoying.


0 Comments