I’ve been having so much fun transforming traditional Norwegian dishes into plant based alternatives these past few years, and while some have not turned out the way I had hoped or envisioned (I have high standards), others come out so much better than I had ever dared imagining. Today’s blog post is one of those.
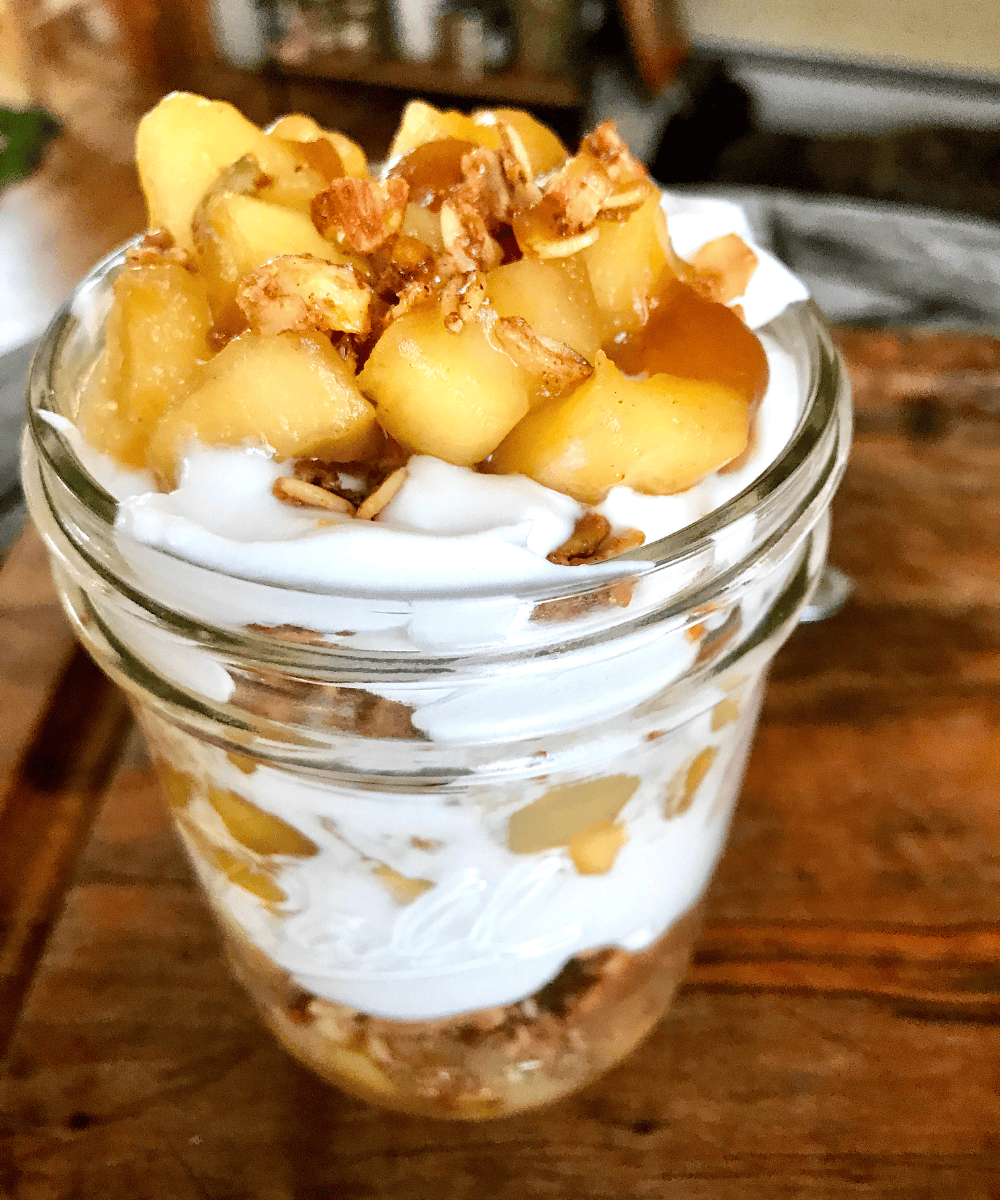
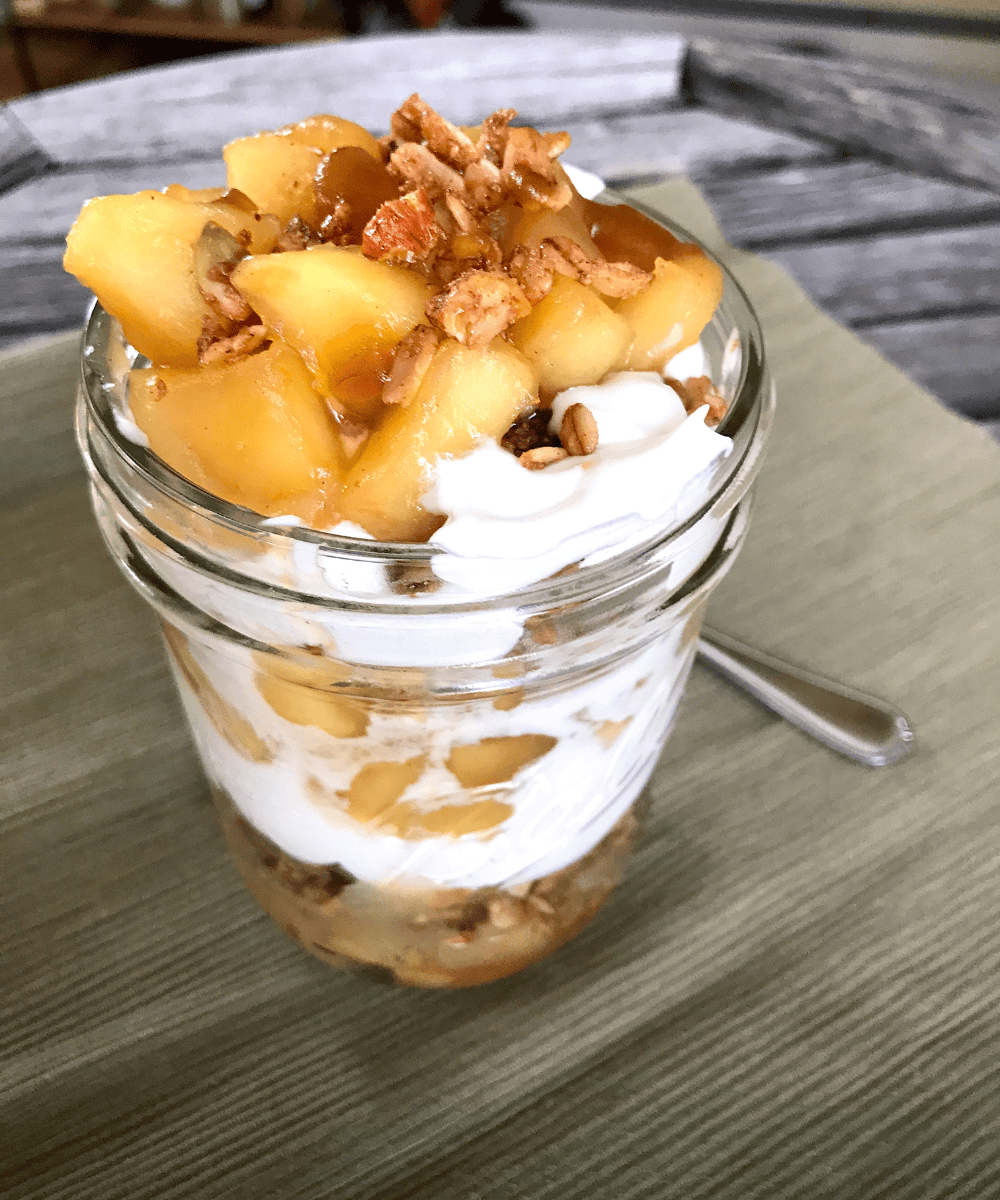
“Tilslørte bondepiker”, the name of this sweet dish, loosely and directly translates into “veiled peasant/farm girls”. It is a layered dessert with mashed apples or applesauce, breadcrumbs sauteed in butter and whipped cream. Typically it is served in a glass bowl or some time of drinkware.
Tilslørte bondepiker was popular before ice cream in Norway and has a long history there. You can find the dessert in various forms, made with different kinds of fruit and toppings like shaved chocolate and citrus rind.
About 4 1/2 years ago before I was vegan, I wrote about this old, classic dessert and the story behind its peculiar name. You can read about that here.
Today I wanted to share the amazing vegan version with all of you and to let you know that anything you want to eat, you make eat plant based! There are no boundaries to creativity amongst vegan cooks and chefs, this is what makes plant based cooking so incredibly exciting!
There are “tuna” sandwiches made from chickpeas, crab cakes from hearts of palm, pulled “pork” sandwiches from jackfruit and the other day I saw somebody making “calamari” from grilled corn on the cob!
If you’re stuck around how you can remove dairy and meat from a classic dish you’ve grown up to love, comment below and let’s see if can come up with something delicious made from plants!
The classic version of this dessert is in fact plant based, with the exception of the whipped cream. In place of heavy cream, I used a can of full fat coconut milk that I left in the fridge overnight.
What that does, is solidify the cream on the top, and this is the only part you use to whip up the cream (discard or save the liquid for later use). Make sure you buy full fat (14grams and higher, preferably) and not low fat, as the latter won’t work.

Use the whisk part of your Kitchen aid not the attachment in the picture, I just couldn’t find mine, but it worked out fine anyway! Make sure your bowl is cold (I put mine in the freezer an hour or more before using it) which will ensure a really fluffy, firm cream. You can season it with confectioners sugar and vanilla extract or sweetener of your choice, to bring out the flavor of the cream some more.

Instead of plain breadcrumbs sautéed in butter, I made my own granola from scratch which I can also use for breakfast and a mid afternoon snack. I have provided the recipe, inspired from the Cooks Illustrated Baking book.
I used local and organic apples, because I find the flavor of local and organic produce far surpasses any other. Either way, make sure you use some type of red crispy apples like Gala, Red Delicious or Cortlands.
I find the combination of sweet and acidic perfect in this recipe. If you want, you can leave some of the peel on, which will then create a more pinkish color in the sauteed apples and apple sauce.
You can make a syrup if you like from brown sugar and some apple sauce to drizzle on top, but I find the sweetness of the apple sauce and sauteed apples are sweet enough for me.
Homemade apple sauce is a must – while it might seem extra work, it’s really not that big of a deal. While the apples cook down you can whip up the granola. The end result will come out so much better than if you use a store bought version.
Hope you will like my example of Tilslørte Bondepiker, happy cooking!
TILSLØRTE BONDEPIKER
For the applesauce:
4 red apples, like Cortland, Red Delicious or Gala, peeled, cored and diced into 1-inch pieces
2 tablespppns brown sugar
1 cinnamon stick (or 1 tsp ground cinnamon)
1/2 cup water
For apple layer:
3 red apples, like Gala or Red Delicious
1/2 cup (100ml) homemade apple sauce
1 vanilla bean pod, split and beans scraped out (or 1 tsp vanilla extract)
1 cinnamon stick
For the whipped cream:
1 x 14.5 oz (425 grams) can full fat coconut cream, placed in fridge overnight
1 tablespoon confectioners sugar
1 teaspoon vanilla extract
1 cup homemade granola* (*recipe listed below)
To make the applesauce:
Place all ingredients in a medium sauce pot, place over medium heat and cook down, about 30 minutes until apples start to dissolve. Throw the mix in a high speed blender and puree until smooth. Set aside to cool.
To make the sauteed apples:
Place all ingredients in medium sauce pot, place over medium heat and cook until apples are tender, about 20-30 minutes. Set aside.
To make the whipped cream:
Scoop out the hardened cream part of the coconut can (discard liquid) and place in a Kitchen aid or a bowl and whisk until fluffy and it stiffens up, a couple of minutes. Add in the confectioners sugar and vanilla extract and combine well.
To assemble dessert:
Using a pretty glass bowl or individual drink glass such as a small mason jar or whatever you have, layer the sauteed apples, granola and whipped coconut cream and sprinkle top with additional granola.
HOME MADE GRANOLA:
recipe adapted from Cooks Illustrated
2 cups old fashioned rolled oats (use gluten free oats if you want recipe to be GF)
1 cup sliced or chopped almonds
3 tablespoons coconut sugar or granulated sugar of choice
2 tablespoons ground flax
1 teaspoon cinnamon
2 vanilla beans, scraped or 1/2-3/4 teaspoon pure vanilla bean powder
1/2 teaspoon fine sea salt, or to taste
1/4 cup virgin coconut oil, melted
1/3 cup pure maple syrup
3 tablespoons smooth natural almond or peanut butter
1 teaspoon pure vanilla extract
Preheat the oven to 325°F and line a large baking sheet with parchment paper.
In a large bowl, stir together the oats, almonds, sugar, ground flax, cinnamon, vanilla, and salt.
In a small saucepan, melt the coconut oil over low heat. Remove from heat and stir in the maple syrup, almond butter, and vanilla until smooth.
Add the wet mixture to dry mixture and stir well until everything is thoroughly combined. The mixture will be a bit dry at first but keep mixing as it will eventually come together.
Place granola on the baking sheet and spread it out into a thin layer.
Bake for about 15 to 25 minutes, until lightly golden, rotating the pan half-way through baking. Be careful not to burn. Allow the granola to cool for about 30 minutes on the baking sheet, or until completely cool, and then break it apart into clusters. Store the granola in an air-tight container for a few weeks, or it can be frozen for 1 to 2 months.


0 Comments